How To Power Dash Cam Without Cigarette Lighter?
In today’s fast-paced world, where road safety and security have become paramount, installing a dashcam in your vehicle has never been more crucial. However, what if your car does not have a cigarette lighter?
However, your vehicle doesn’t have a cigarette lighter. Utilizing a two-wire cable and connecting one end to the fuse box and the other end to a grounded metal ring attached to your car’s body. In that case, you can ensure a continuous power supply.
In this article, we will guide you through an alternative method. So, let’s explore how you can power your dash cam without needing a cigarette lighter!
Power a Dash Cam Without a Cigarette Lighter: Alternatives
One challenge car owners face is finding a suitable power source to connect their dash cams without relying on the traditional cigarette lighter socket. However, alternative options have emerged in recent years – hardwiring the dash cam directly to the fuse box, using a USB port, and a portable power bank.
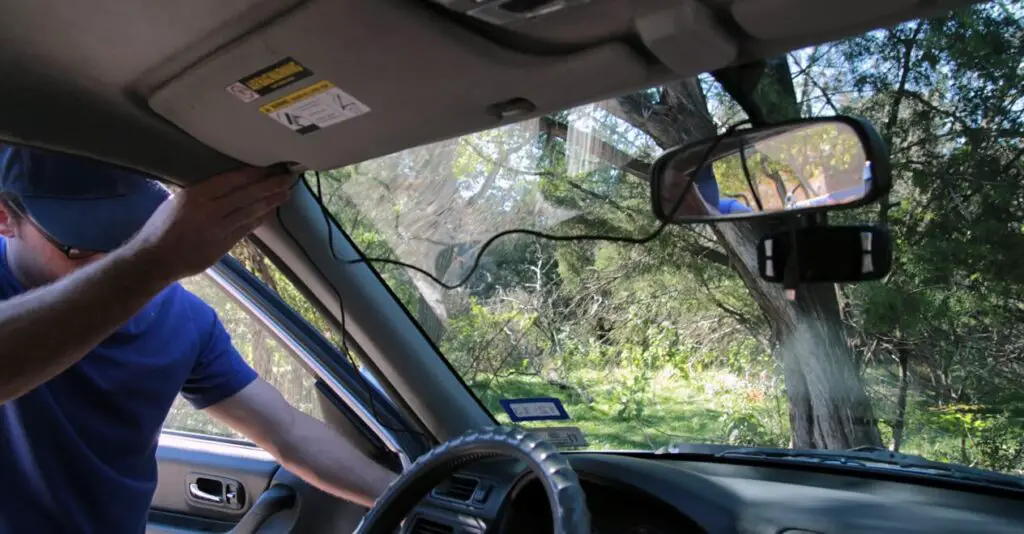
Hardwiring to the Fuse Box
Powering a dash cam with hardwiring to the fuse box involves several key steps for a successful installation:
Step 1: Identify a Suitable Fuse
Begin by selecting a suitable fuse in your vehicle’s box to tap into for power. It’s essential to choose a fuse that is not associated with critical systems like airbags or ABS. A fuse for accessories, such as the radio or auxiliary power outlet, is a good choice.
Step 2: Prepare the Wiring
Gather the necessary wiring and tools, including a fuse tap kit, a ground wire, a wire stripper, crimp connectors, and electrical tape. Ensure you have the appropriate dash cam power cable for your model.
Step 3: Fuse Tap Installation
With the vehicle turned off, carefully remove the selected fuse from its socket. Insert the fuse tap into the vacant socket, ensuring it’s securely in place. Then, reinsert the original fuse into the top slot of the fuse tap.
Step 4: Connect the Wires
Connect the positive (red) wire from your dash cam’s power cable to the exposed metal tab on the fuse tap. Use a crimp connector or soldering for a secure connection. Connect the dash cam’s negative (black) wire to a suitable grounding point on your vehicle’s metal body. Ensure a solid, corrosion-free connection.
Step 5: Test and Tidy Up
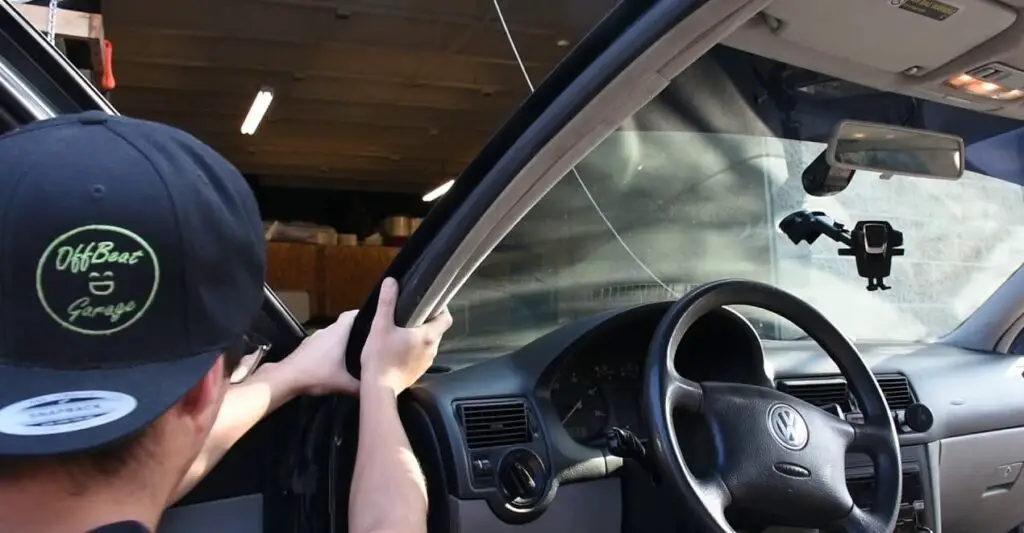
Before finishing the installation, turn on your vehicle’s ignition to test the dash cam’s functionality. Make sure it powers up and records correctly. If everything works as expected, tidy up the wiring by securing it with cable ties and concealing it along the vehicle’s interior panels or headliner for a clean and discreet installation.
Following these steps, you can successfully hardwire your dash cam to the fuse box, ensuring a reliable power source and a neat, professional-looking installation.
Using a USB Port
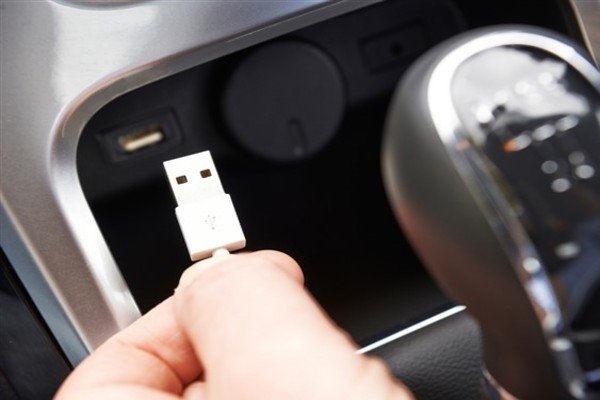
Powering a dash cam using a USB port involves a straightforward process, broken down into these key steps:
Step 1: Determine USB Port Suitability
Before proceeding, identify a suitable USB port in your vehicle. Many modern cars have USB ports that power small electronic devices like dash cams. Ensure the USB port is active when the ignition is on, as some ports may only supply power when the engine is running.
Step 2: USB Adapter Selection
Select a suitable USB adapter for your dash cam. You’ll need a USB adapter that matches the input requirements of your dash cam and is compatible with the chosen USB port. Dash cams typically have a micro USB or mini USB input, so ensure your adapter matches this. Consider an adapter with multiple USB ports if you have other devices to power.
Step 3: Connecting the Dash Cam
Connect your dash cam to the chosen USB adapter using the appropriate cable. Plug one end of the cable into the dash cam’s power input and the other end into the USB adapter. Insert the USB adapter into the selected USB port in your vehicle.
Once connected, check that the dash cam powers up when turning on the ignition. Ensure it records and functions correctly. If necessary, configure the dash cam’s settings for optimal performance.
Following these steps, you can easily power your dash cam using a USB port, providing a convenient and simple solution for keeping your dash cam operational while on the road.
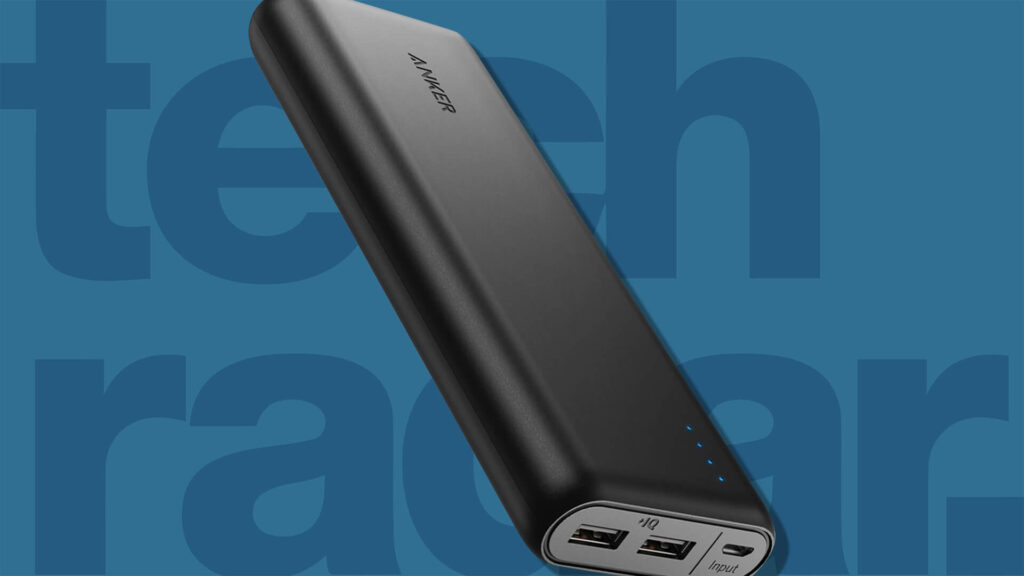
Portable Power Banks
Powering a dash cam with a portable power bank offers flexibility and convenience. Here’s a complete breakdown of the steps involved:
Step 1: Choose a Suitable Power Bank
The first step is to select a power bank that suits your dash cam’s power requirements. Check the dash cam’s specifications for its voltage and current needs. Choose a power bank with sufficient capacity and output that matches or exceeds these requirements. Also, consider the power bank’s size, capacity, and portability to ensure it’s a practical choice for your setup.
Step 2: Charging the Power Bank
Before using the power bank to power your dash cam, ensure it’s fully charged. Push the power bank into a wall charger or a USB port and allow it to charge until it reaches its maximum capacity. This step is crucial to ensure uninterrupted power to your dash cam during your journeys.
Step 3: Powering the Dash Cam
Once fully charged, connect the power bank to your dash cam using a compatible USB cable. Ensure it doesn’t obstruct your view or essential controls when securing it in your vehicle; some use adhesive Velcro strips.
When you turn on your car’s ignition, the power bank will supply power to your dash cam, ensuring continuous operation without draining your vehicle’s battery when the engine is off. Remember, the dash cam’s runtime depends on the power bank’s capacity, so monitor and recharge it as needed for uninterrupted use.
Frequently Asked Question
Can I still charge other devices if I don’t use the cigarette lighter socket for my dash cam?
Certainly! You can charge other devices concurrently when you opt to power your dash cam through hardwiring or USB ports instead of the cigarette lighter socket. This versatility is incredibly convenient, allowing you to keep your smartphone, tablet, or any other gadgets charged while your dash cam continues to operate seamlessly.
By utilizing alternative power sources, you maximize the utility of your vehicle’s electrical system, ensuring that your dash cam and other devices receive the power they need, making it a practical and efficient solution for staying connected and maintaining safety on the road.
How much power does a dash cam need?
The recommended amperage for most dash cams falls within the 0.25 to 0.45 amp range. At the same time, this may seem like a small amount of power, but ensuring that your vehicle’s electrical system can hold the load is crucial.
Larger vehicles with more advanced electrical systems typically have no issues powering a dash cam within this range. However, suppose you drive an older model or have made modifications to your car that put additional strain on the electrical system. In that case, consulting an expert before installing a higher-powered dash cam is advisable.
Final Thoughts: How To Power Dash Cam Without Cigarette Lighter?
Powering your dash cam without relying on the cigarette lighter is straightforward. By utilizing a two-wire cable and connecting one end to the fuse box and the other end to a grounded metal ring attached to your car’s body, you can ensure a continuous power supply for your dash cam.
This method offers a reliable and efficient way to keep your dash cam operational while avoiding the limitations of the cigarette lighter socket. We’ve provided a detailed article that guides you through the steps, ensuring a seamless and hassle-free experience as you enhance your vehicle’s safety and surveillance capabilities.