Dash Cam Keeps Resetting Date And Time – Here’s Why And What You Can Do
Are you tired of constantly resetting the date and time on your dash cam? You’re not alone. Many camera users experience the frustration of losing their settings every time their device loses power. But have you ever wondered why this happens?
Dash cams utilize lithium-ion batteries or tiny RTC (Real-Time Clock) batteries to save settings, including the date and time. Yet, when the camera loses power, whether due to a dead battery or another reason, these settings can be lost, leading to the issue of recurring resets.
This article will explore the reasons behind this common problem and the Troubleshooting Guide for Dash Cam Date Reset.
4 Common Reasons Why Dash Cam Resets Date
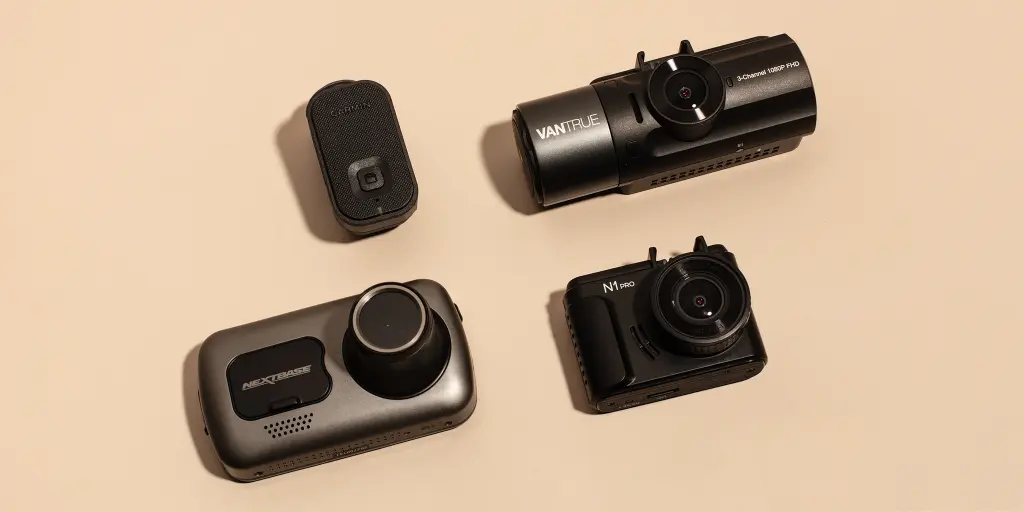
Dash cams record road incidents and enhance safety, but they sometimes reset their date. Here’s why:
Battery or Capacitor Failure
A power-related issue is one of the primary reasons why a dashcam might reset its date. Dash cameras typically have a built-in battery or capacitor to retain essential settings, such as date and time, when the vehicle is turned off. If this power source fails or is depleted, it can lead to date resets.
Batteries degrade over time, while capacitors may lose their charge, especially in extreme weather conditions. To prevent this issue, regularly check and replace the battery or ensure the capacitor functions correctly according to the manufacturer’s recommendations.
Outdated Firmware
Firmware is the software that controls the operation of your dash cam. If the firmware is outdated or corrupt, it can cause issues, including date resets. Manufacturers often update firmware to address bugs, improve performance, and enhance compatibility.
Failing to update your dash cam’s firmware might expose it to software glitches that lead to date and time discrepancies. To avoid this, check for firmware updates regularly on the manufacturer’s website and follow the installation instructions.
GPS Malfunctions
Many modern dashcams are equipped with GPS modules that provide location data and accurately record the date and time. If the GPS module experiences issues, such as a weak signal or interference, it can affect the dash cam’s ability to maintain the correct date and time.
To address this problem, ensure your dash cam has a clear line of sight to the sky to receive GPS signals. Additionally, check for any GPS-related error messages in the dash cam’s settings and resolve them accordingly.
Incorrect Time Zone Setting
Dash cams often allow users to set their local time zone to ensure accurate timekeeping. If the time zone is misconfigured, it can result in date and time resets. Double-check that your dash cam’s time zone setting matches your actual location. This is particularly important if you frequently travel across time zones, as you’ll need to adjust the setting accordingly.
Troubleshooting Guide for Dash Cam Date Reset
If your dash cam resets the date repeatedly, there are steps you can take to troubleshoot the problem.
Here are some steps you can take to fix the problem:
Step 1: Battery Replacement
Many dash cams rely on a small internal battery to maintain settings, including the date and time when the vehicle is turned off. If this battery fails or has completely depleted, it can lead to date resets. Consider replacing the internal battery or capacitor to address this, following your dash cam’s manufacturer’s recommendations.
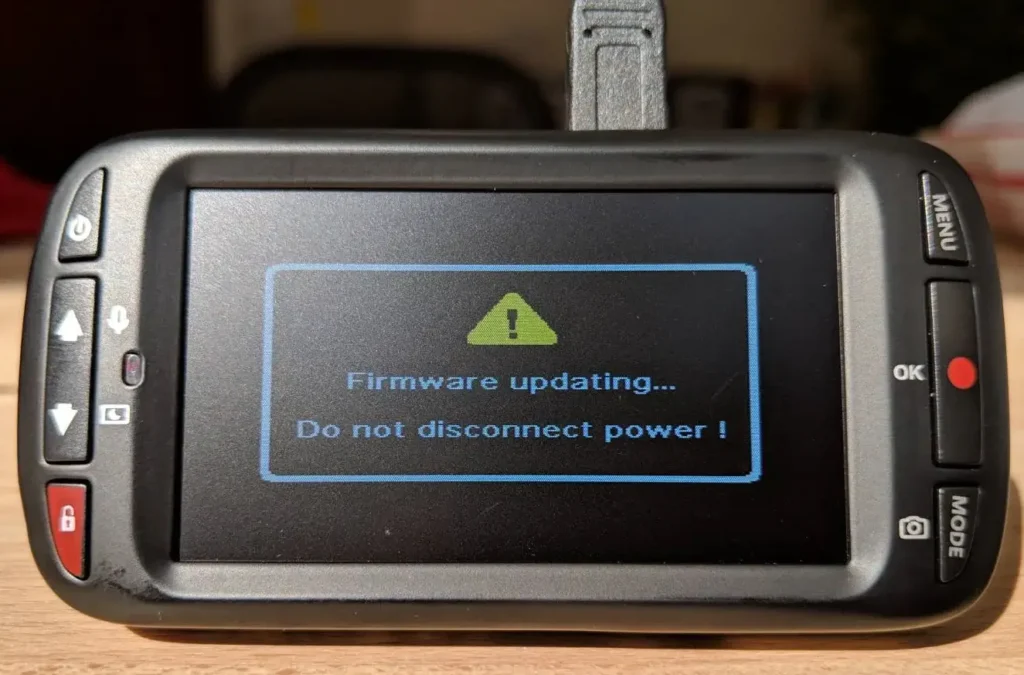
Step 2: Firmware Update
Outdated or corrupt firmware can lead to various issues, including date resets. To address this, visit the manufacturer’s website and check for firmware updates for your dash cam model. Follow the instructions to ensure your dash cam runs the latest software.
Step 3: SD Card Inspection
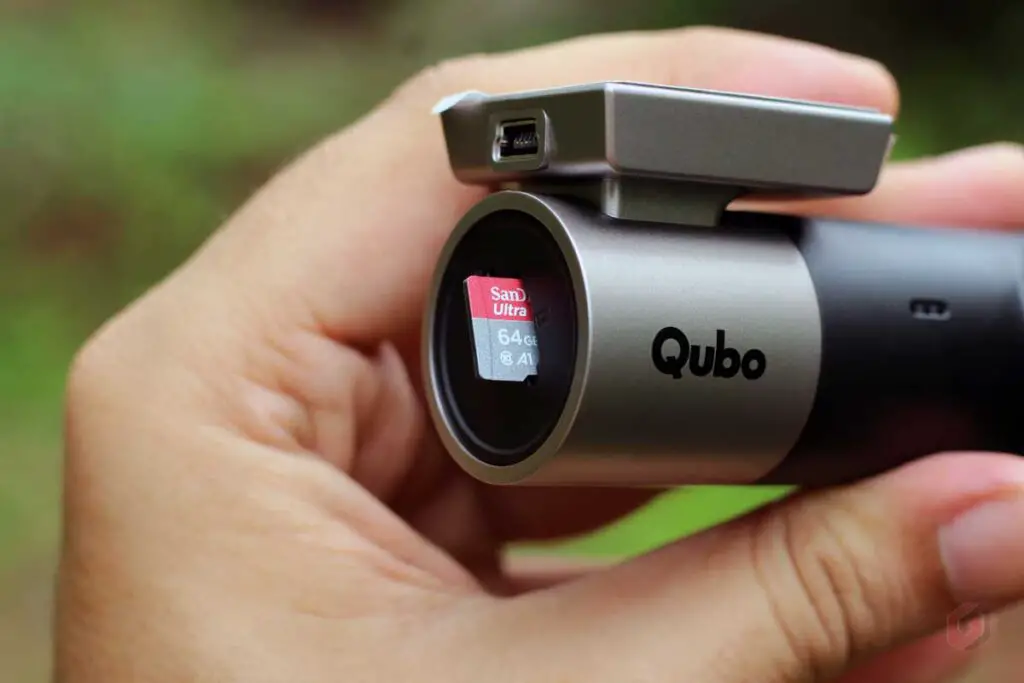
The SD card in your dash cam stores recorded footage and settings. An improperly functioning or corrupt SD card can cause date resets. Check the card for errors and consider reformatting it, or try using a different SD card to see if the problem persists.
Step 4: Component Inspection
Inspect your dash cam for any physical damage or loose connections that could be causing power interruptions. Ensure all cables and connectors are secure and undamaged. Sometimes, flexible links can lead to date resets.
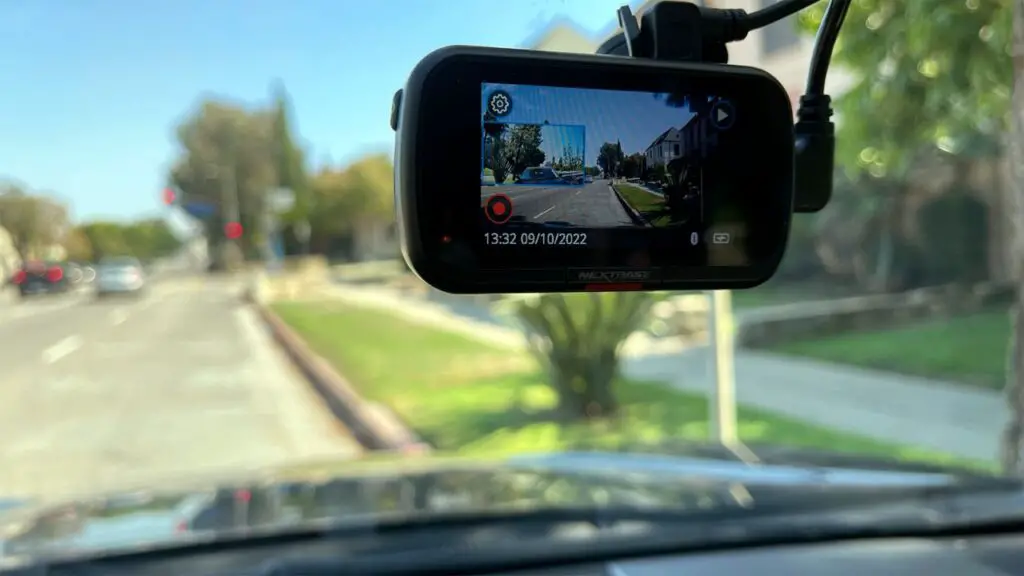
Step 5: Settings Validation
Check your dash cam’s settings, especially the time zone configuration. Make sure it is set to the correct time zone for your location. Adjust it if necessary, especially if you frequently travel across time zones.
Step 6: Voltage Monitoring
A voltage drop or irregular power supply to your dash cam can cause date resets. Monitor the vehicle’s power supply, and consider using a dash cam hardwiring kit to ensure a stable and consistent power source.
Step 7: Manufacturer Support
If you have exhausted all troubleshooting steps and the date resets persist, consider contacting the dash cam manufacturer’s customer support for further assistance and guidance. They may have specific recommendations or solutions to address the issue.
By following these troubleshooting steps, you can pinpoint and resolve the problem of date resets on your dash cam, ensuring that it continues to provide accurate and reliable date and time stamps on your recorded footage.
How to Set a Date on Dash Cam?
Whether installing a new dash cam or adjusting the date and time on an existing one, this guide will walk you through the steps.
Accessing the Settings Menu:
The first step in setting the date on your dashcam is to access the settings menu. Depending on your dash cam model, this may involve pressing specific buttons, navigating through touch screen menus, or using a mobile app if your dash cam supports such functionality.
Locating Date/Time Settings:
Within the settings menu, locate the date and time settings. This option is typically found under a category related to “System,” “Setup,” or “General Settings.” Some dash cams have a dedicated “Date and Time” section for easy access.
Setting the Date and Time:
Once you’ve located the date and time settings, you’ll be prompted to input the current date and time. Follow the on-screen prompts or use the dash cam’s controls to enter the correct information. Be attentive to the format (e.g., MM/DD/YYYY or DD/MM/YYYY) to ensure accuracy.
Advanced Settings:
Some dashcams offer advanced settings related to date and time. These may include turning on or off automatic time syncing via GPS, selecting time zones, and setting the date and time display format (e.g., 12-hour or 24-hour clock).
Confirming and Saving:
After inputting the date and time, review your entered information to ensure its accuracy. If everything is correct, confirm and save the settings. In most cases, you must press a “Save” or “Confirm” button to finalize the changes.
Regular Checks:
To maintain accurate date and time settings on your dash cam, periodically check that they are correct. Dash cams may experience power interruptions or time zone changes if you travel. Ensuring the date and time remain accurate is essential for reliable documentation of incidents.
Final Thoughts: Dash Cam Keeps Resetting Date And Time
The issue of a dash cam resetting its date and time can be frustrating for users. This problem occurs when the camera loses power, and settings cannot be saved. While some cameras use lithium-ion batteries to save settings, others rely on small RTC batteries. Regardless of the type of battery used, it is essential for users to be aware that these batteries may need replacement over time. To prevent constant resetting of the date and time, periodically check and replace the battery, if necessary.
By taking this simple step, dash cam owners can ensure that their cameras function properly and capture important moments on the road.